Coral and Navy Combine for a Gorgeous Lamp Rescue

Jenna blogs at 24 Cottonwood Lane. She’s been working on a makeover of her master bedroom, and sticking to her budget has resulted in several impressive rescues. Just take a look at what she did with her old lamps.

24 Cottonwood Lane lamp before

These lamps have been in Jenna’s bedroom for at least four years. They worked with the former color scheme, but not the new one. So, Jenna solved that problem by covering up the white base with high gloss navy spray paint. New white shades were dressed up with diagonal stripes of coral ribbon. It’s a completely new look for these lamps, without spending a fortune on new ones. Great job, Jenna!

Get all the details on this lamp makeover at 24 Cottonwood Lane.

An Heirloom Cedar Chest Comes to Life

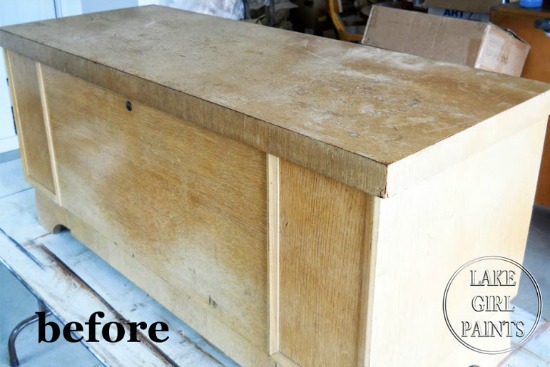
Deb from Lake Girl Paints says that this chest has been in her friends’ family for years. “Grandma Pat Hemje received this Lane Cedar Chest when she was 16. Now it has a home with her son’s family.” Even though the chest was worn down, they planned to keep it as an heirloom and asked Deb for some help.

Lake Girl Paints Lane Cedar Chest before

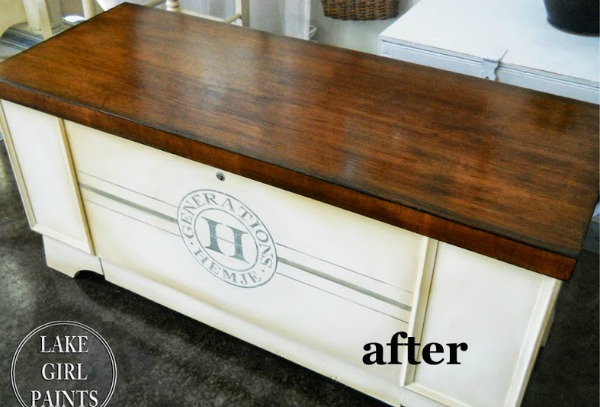
First, Deb stripped off what little of the old finish was left. She stained the lid of the chest to showcase the pretty woodgrain. Next, she painted the rest of the chest in a creamy white. She painted the front of the cedar chest with a design the mimics a stamp and represents the family. Now, the keesake isn’t just worth keeping, it’s worth taking a second look!

Lake Girl Paints Lane Cedar Chest after

Get the details of this makeover by visiting Lake Girl Paints.

Old Pallets + Old Belts = Something Special

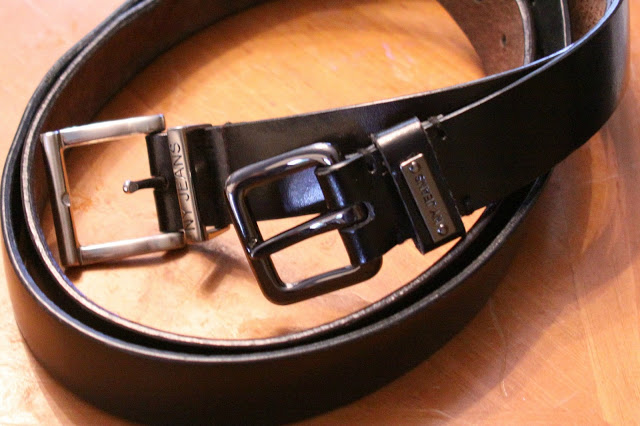
Over at Our Pinteresting Family, Meghan shares another great use for pallet wood. “We had a few pallets left in the garage from last summer. I mentioned to Rob that it may be time to find them a new home or put them on Free-cycle.” Rob, however, had a better idea, that included upcycling the pallets and some old belts from Meghan’s closet.

Our Pinteresting Family belts before

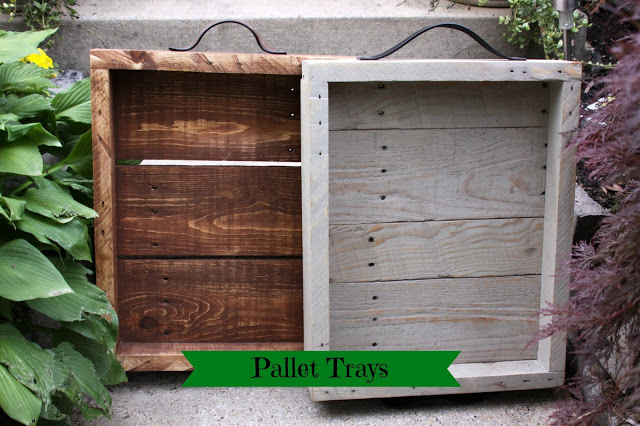
Rob made some rustic looking trays with the wood. After carefully taking apart the pallets, he cut the wood to the sizes needed. The boards were nailed to form shallow boxes, and stained to have a lovely, worn patina. Meghan’s old belts were cut apart to make handles for the trays-a genius use for the leather! She explains about the trays, “We are going to use them for the deck this summer to hold drinks or flowers.” Great idea! I think I need some of these.

Our Pinteresting Family belts after

Get more details on the making of these pallet trays at Our Pinteresting Family.

Beachy Art From VHS Storage

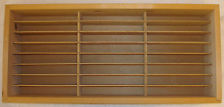
Over at Camelot Art Creations, Desiree says, “I have had this old VHS wooden crate set aside for a DIY project for some time now.” After a family trip to the beach, she realized that the crate could become a display case for the seashells they’d collected.

Camelot Art Creations shell display before

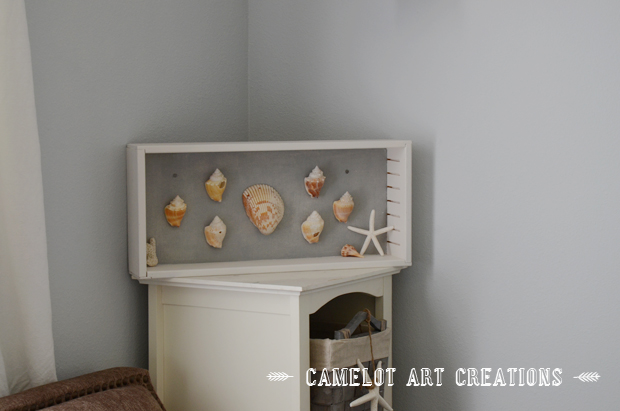
To turn the storage box into a shadowbox style frame, Desiree removed the thin shelves and painted the case white. She used a Martha Stewart paint kit to achieve the linen-like look of the back wasll of the case. Shells were glued on with E-6000. Desiree says that she’ll be putting this pretty collection of shells into the bathroom that she’s fixing up. What a lovely way to show off this collection!

Camelot Art Creations shell display after

Click over to Camelot Art Creations to find out more.


A Rescue That Will Provide Relief (ahem) for Years to Come

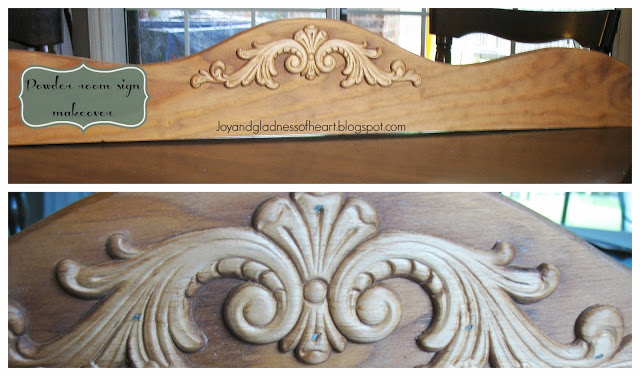
Kelly blogs over at Joy and Gladness of Heart. There, she shows us this lovely piece of raw wood that she’d had sitting around. She knew she wanted to put it somewhere in her house, but had a hard time figuring out exactly what to do with it.

Joy and Gladness wood trim before

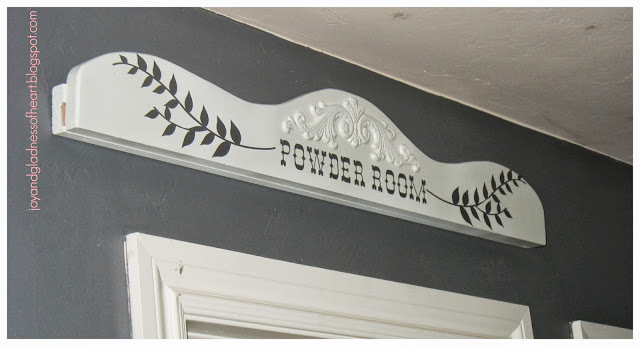
“I thought I could put it above my bedroom door,” Kelly says, “but then it dawned on me that putting it above the bathroom would help guests in their ‘time of need.’ We have a long hallway and it is where the bathroom and all the bedrooms are and it can be kind of intimidating to walk down if you are new here.” With that idea in mind, Kelly painted the wood white to match the other trim in her hallway, and added lettering to the sign with the help of her Silhouette machine. It looks fantastic!

Joy and Gladness wood trim after

Get more details on this rescue at Joy and Gladness of Heart.

A Little Wine and a Lot of Lace

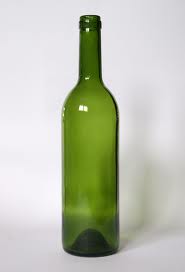
At her blog Homework, Carolyn has found a lovely way to repurpose empty wine bottles. She’s turning them into lacy vases.

August - Week 4 -2013

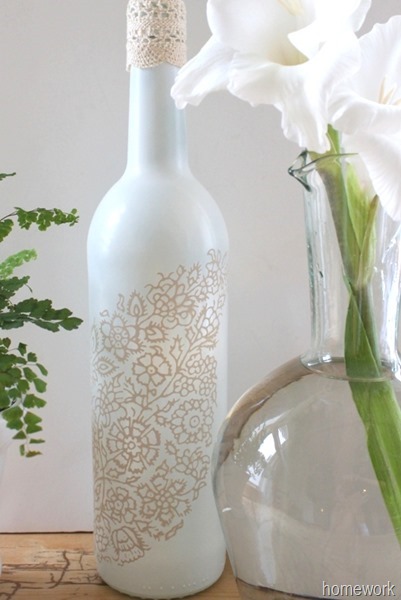
After removing the label from a wine bottle and cleaning off all of the sticky residue, Carolyn gives each bottle a quick coat of white spray paint. “To create the lace pattern, I used a Martha Stewart Adhesive Silkscreen,” she explains. The finishing touch is adding a bit of real lace around the top of the bottle to coordinate with the painted lace. What a beautiful vase!

Homework wine bottle after

Get all the details on this project at Homework.

Awesome Chalkboard Bins from Plastic Storage Drawers

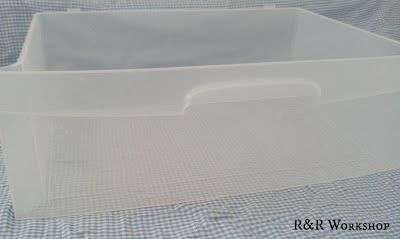
Rachel from R&R Workshop had graduated from the plastic drawers on wheels to real furniture. “We no longer needed to use these plastic drawers, but I wasn’t willing to get rid of them!” she exclaims.

R&R Workshop plastic drawers before

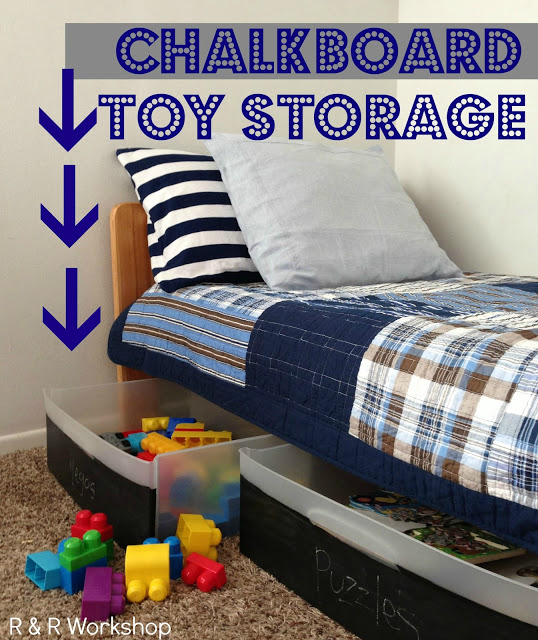
Looking at the drawers, Rachel realized that without the plastic frame that kept them stacked together, the drawers alone could potentially make great storage bins. In fact, they were just the right size to fit under her son’s bed! Rachel primed the drawer fronts and then painted them with chalkboard paint. Now, the drawers serve as easily labeled toy storage that scoot away under the bed when playtime is over. Genius!

R&R Workshop plastic drawers after

Get all the details on these repurposed plastic drawers at R&R Workshop.

Recycling Magazines into Fun Florals

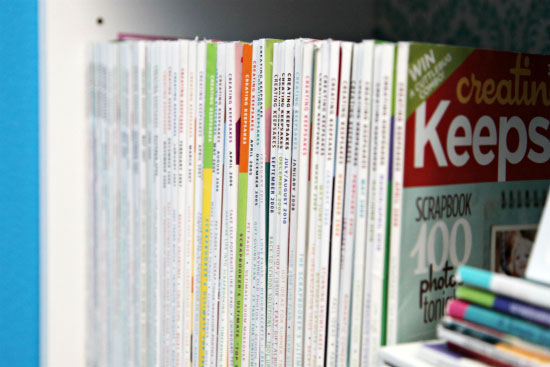
One hot summer day, all Heather of Craft Cravings wanted to do was stay inside and craft up a storm. Not wanting to go shopping for any new supplies, she looked around for something on hand that she could recycle into a fun craft. What she found were her stacks of scrapbooking supply magazines.

Stack of Scrapping magazines

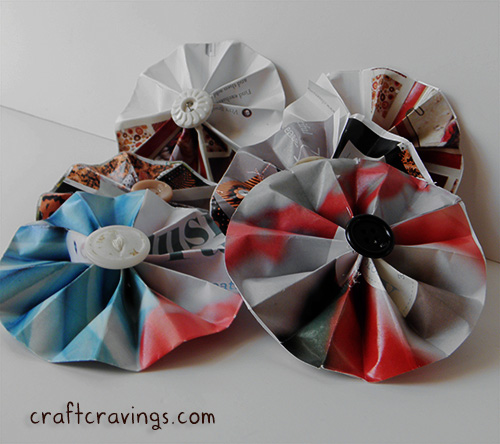
These particular magazines are made up of pages and pages of pretty pictures, so Heather knew she’d struck craft paper gold. She figured out how to cut and fold the magazine pages into little paper flowers. With the addition of a button in the center of each flower, Heather had a great little craft using materials that would have otherwise been thrown away. Fun!

OLYMPUS DIGITAL CAMERA

View Heather’s magazine flower tutorial over at Craft Cravings.