Yard Stick Serving Tray

Courtney hates letting things go to waste. As she says at A Diamond in the Stuff, “If I think that I can come up with a use for it, I’ll hold onto it. Sometimes for a very long time.” Hmmm . . . I’m sure none of us can identify with that at all, right? After a sewing table project, Courtney had a ton of leftover yard stick remnants. And of course she couldn’t just throw them away (of course) so she turned them into a yard stick serving tray!

Courtney had some wooden serving trays stashed away waiting for her to think of “something awesome to do with them.” She “pieced in sections of the yard sticks one by one and trimmed up some pieces where I needed to.” She repainted the tray with chalk paint, then glued all the sticks into place. Courtney used a few coats of polycrylic over the top of the yard sticks to smooth them out and fill in small gaps. I know it was time consuming to trim down all those sticks, but the final project is gorgeous!

See the complete instructions at A Diamond in the Stuff.
A Whale of a Tale

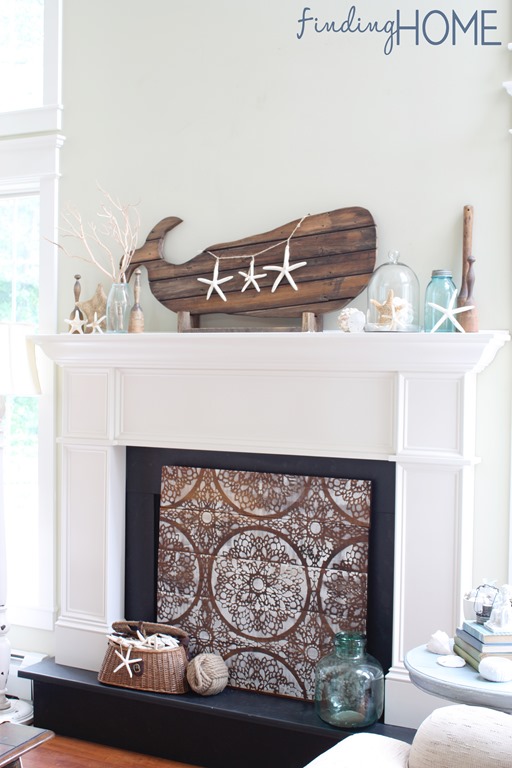
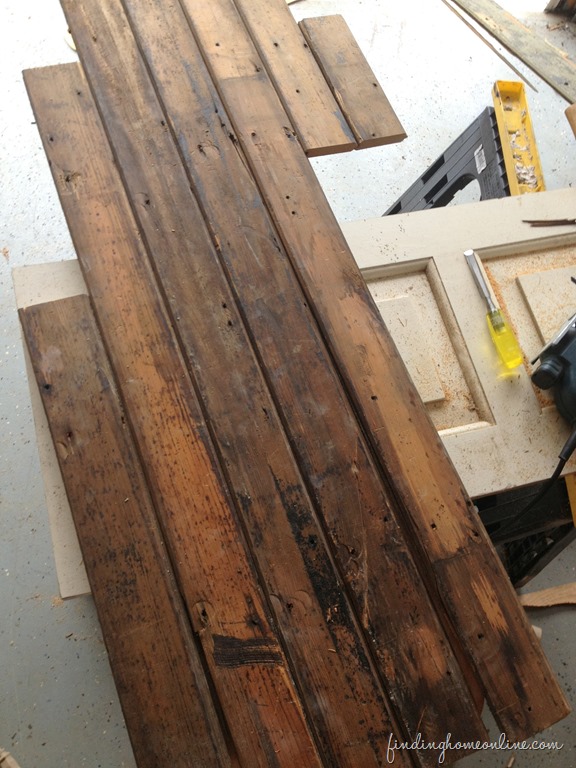
Laura’s rescue may seem to just be about using a piece of reclaimed wood to make something beautiful, but it’s so much more than that! I got sucked into the story of her grandparents’ hand-built home (where the wood came from) and her parent’s beach house (where the completed piece is going). At Finding Home, Laura is telling the stories and introducing us to a very sentimental and happy whale.

reclaimed-wood

Laura made “Glenda the Happy Whale” to be a new piece of décor for her parents’ New Jersey beach home, which has been rebuilt since Hurricane Sandy destroyed it. She drew her whale shape on a thin piece of plywood and cut it out with a jigsaw to create a template. After gluing and nailing the template to the back of her scrap wood, she started cutting around the template, then sanded down all the rough edges. Laura stained and waxed the whale, then put her on the mantel until she’s ready to make the voyage to her new home at the beach!

summer-whale-mantel-wall-art-scrap-wood

To see the complete tutorial and read about Laura’s grandparents, visit Finding Home.

Scholarly Workstation from Curbside Cabinets

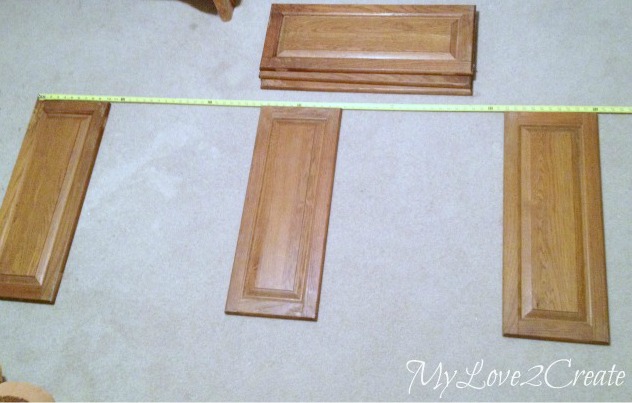
These cabinet doors were a curbside treasure that caught Mindi’s eye and made her slam on the brakes! She brought them home and decided to turn them into a desk for her boys. At My Love 2 Create, she says, “When I finished this desk and put in my boys’ room it is was a toss up for who was more giddy, me or my boys.”

cabinet-doors

Mindi used scrap wood to cut nine shelf boards, then attached her shelves to the doors using screws and wood glue. She found “a piece of that 70 year old barn wood” from a previous project to play the role of desk top. Mindi added plywood backing, 1″x2″ trim, and some cool bed slats to form the “X”s holding the sections together. She sealed the barn wood with polyurethane, primed and painted the rest of the desk, and then spent six whole dollars on bins to put inside. That was her total budget, right there! Are you as impressed as I am? No wonder everyone’s giddy over this fabulous desk!

Read more about this makeover at My Love 2 Create.

From Pineapple Lamp to Chic Memo Stand

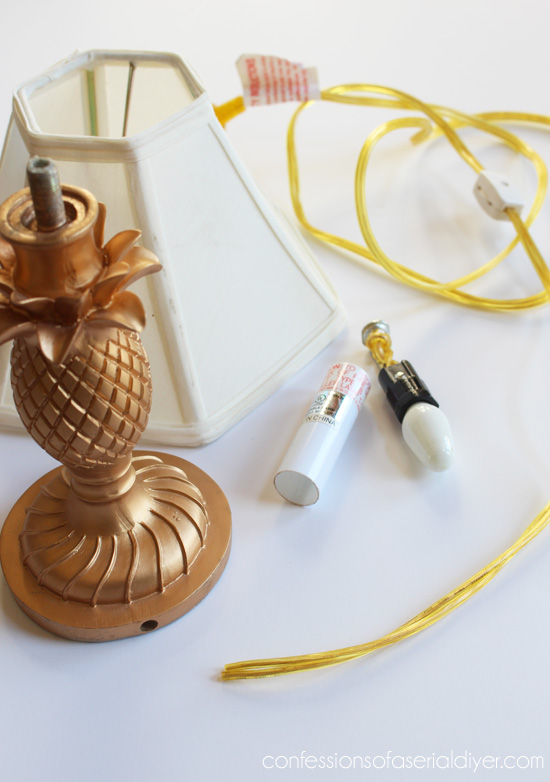
Christy received this pineapple lamp with a challenge from a friend: give it a makeover. At Confessions of a Serial DIYer, she says, “This was kind of cute as is, but the lighting was super dull and I have no need for a tiny lamp.” So she cut the cord off and waited a few days for inspiration to strike.

Lamp-to-Memo-Chalkboard

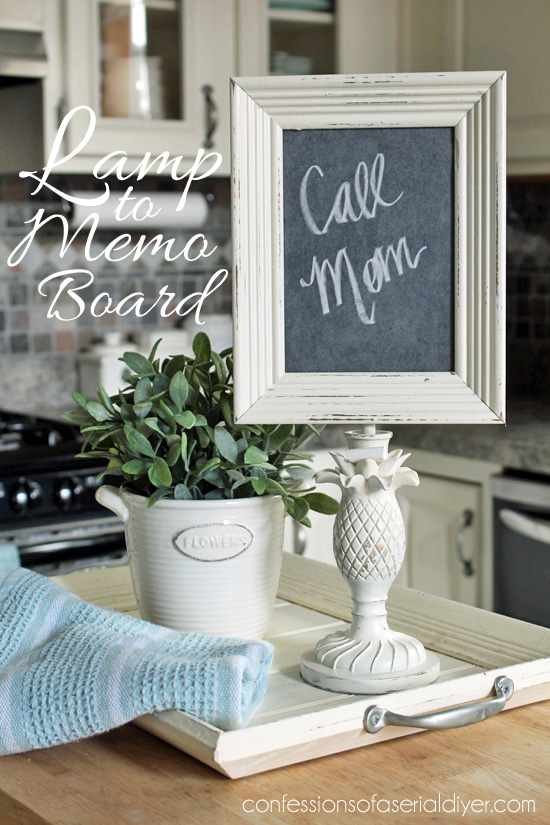
Christy says that eventually “the threaded piece sticking out at the top gave me an idea.” She decided to make a memo chalkboard! Christy found an old thrift store picture frame in her garage, drilled a hole into it, and screwed it right onto the lamp. To match the lamp, she spray painted the frame gold, then gave the frame and lamp a coat of white. She sanded a bit to “bring out some details,” then inserted a piece of chalkboard. And there you have it: Challenge Accepted!

Lamp-to-Memo-Chalkboard-Feature

See how to make your own at Confessions of a Serial DIYer.

Framed Succulents: No Green Thumb Necessary

One reason succulents are so great is that they’re hard to kill. Succulents made out of paper, though? Even better! Rebecca from The Crafted Sparrow grabbed an old picture frame and created a framed paper succulent piece that looks fabulous and needs absolutely no watering.

Rebecca spray painted her frame grey and gold, then used fine grit sandpaper to create a bit of wear around the edges. She fit a piece of cardboard inside the frame. A Cricut helped her design and print out her paper succulents, and once they were assembled she hot glued them to the cardboard. Rebecca loves how this turned out: “the varying shades of greens are just so pretty.” I second that-what a great idea!

For the complete tutorial, check out The Crafted Sparrow.


From Spare Tire to Fab Planter

Turns out having an old tire in your yard doesn’t have to look junky-not if you turn it into a colorful planter like Roeshel did! Let’s see how she worked her magic at DIY Showoff.

After washing and scrubbing the tire and letting it dry, Roeshel sprayed on a primer + color combination. She drilled drainage holes into the bottom of the tire, then used fabric weed barrier and packing peanuts to line it. All that was left was to plant some gorgeous flowers. Roeshel moves the tire inside to display in her covered patio when she’s entertaining, where I’ll bet it receives LOTS of compliments!

Find out how to make your own tire planter at DIY Showoff.